It's time to get the comfort you deserve. Good soap matters. soapisbest.com
A Live Kitchen
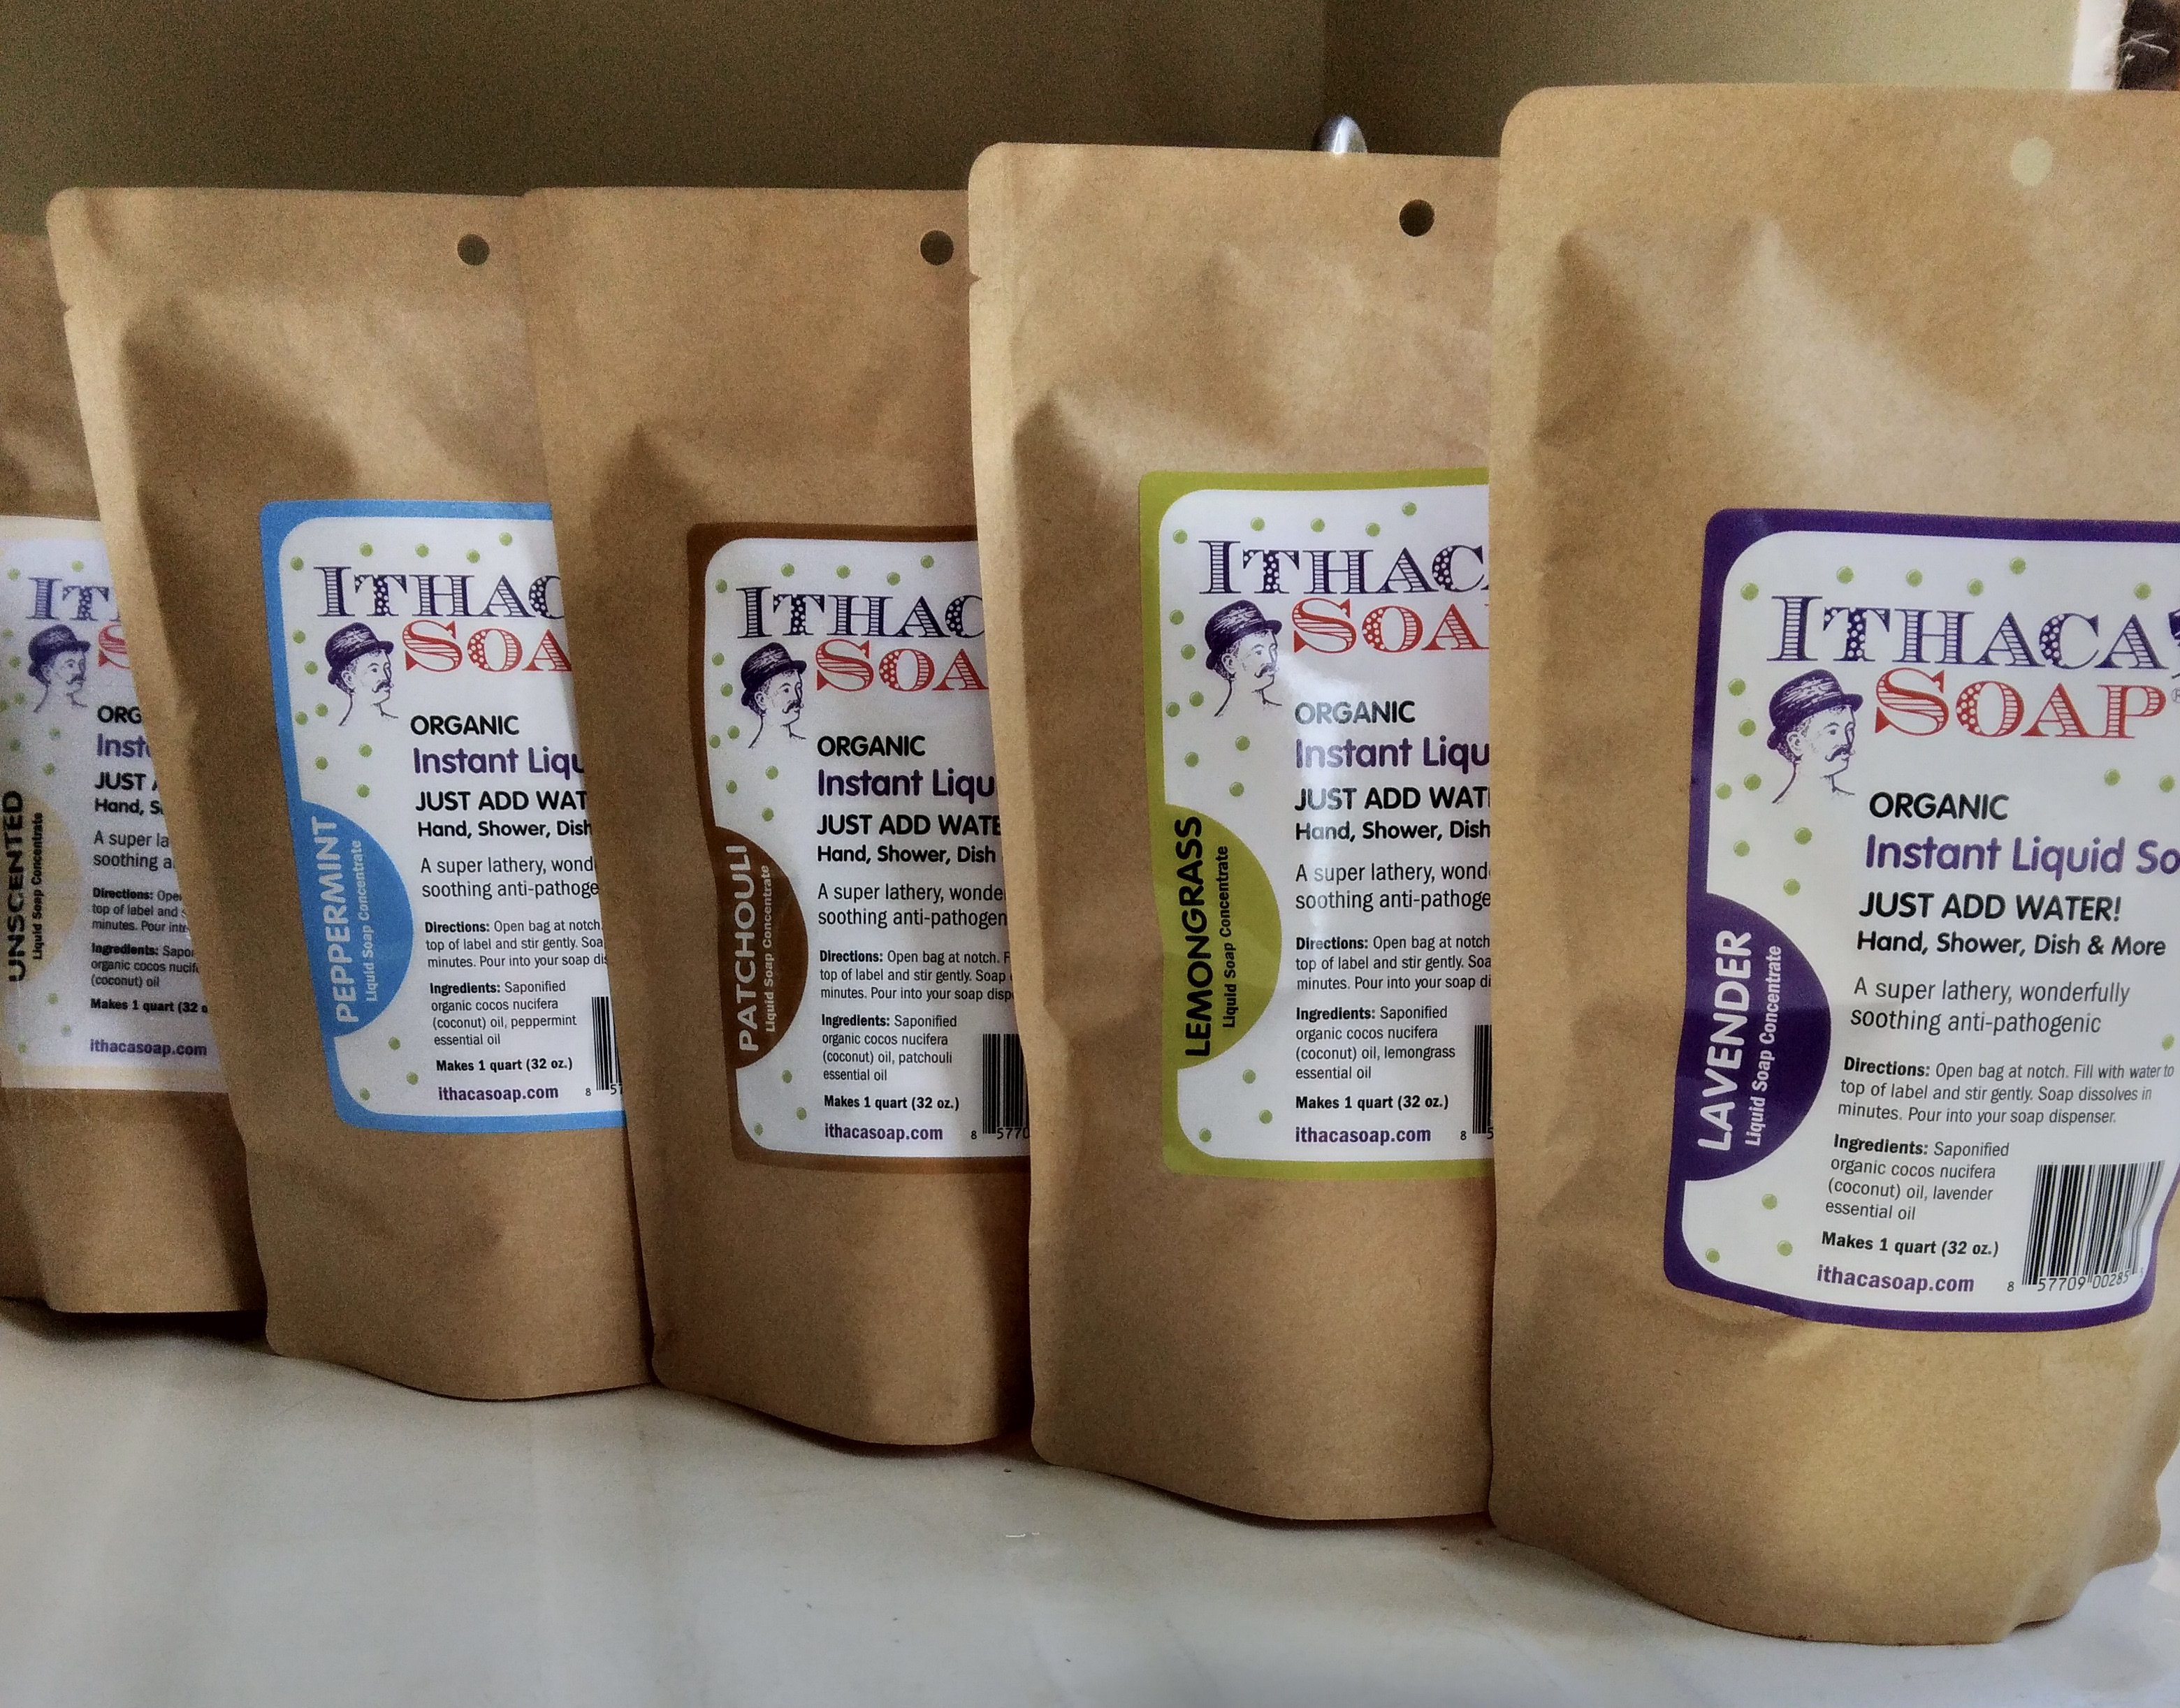 Choose from 5 different natural essential oil scents
Instant Liquid Soap is the perfect stovetop cleaner. It's gentle on your hands while being tough on built up, caked on grease. Click here to read How to Clean your Greasy Stovetop using zero waste natural soap methods
- Tear open pouch at notch
- Fill pouch with water to top of label. Gently stir.
- Pour into a reused plastic bottle. Use.
The future starts now as you end single use plastic bottles. Click here
Turn your kitchen into a live kitchen A home kitchen should be a place where the people living in the house get their physical and emotional nourishment.
Fresh good quality food contains vitamins, live cultures, bacterias and nutrition to keep people and animals healthy, happy and productive.
When food is a constant cycle, the kitchen is live. It’s a constant cycle of fresh food coming into the kitchen, being processed in a variety of ways, being consumed, and compost returned to the garden. It’s our fuel. It’s what turns a house into a home.
 Right before our 1st hard frost, at the beginning of Fall, I pick all of my tomatoes. As they go through the ripening stages, I place them around the house in various boxes and on plates to get sun at certain times of the day. Then we eat them as they ripen. When some don't ripen well, the chickens get them. Notice the yellow hot pepper on the edge of the plate at the top of the photo.
The photo below to the right contains Andy's garlic that he harvested in July. It will dry in the greenhouse until it gets cold enough to plant his crop for the next year. He brings a few heads in the house to eat, until they are all cured.
The bottom basket contains 2 baby butternut squashes from my friends at Under the Tree Farm. The squashes are resting on 3 different kinds of corn that I grew and dried for my chicks. Notice 3 different color husks. Yellow sweet corn, purple dent corn, and tricolored flour corn.
 The big pot has a habanada (hot no) pepper tree in it. I started this from seed and get peppers year round in my house and greenhouse. The little pot behind it has the yellow hot plant in it that I dug up from the garden before the 1st frost. Look carefully; there are 2 long green peppers. They ripen to a hot yellow pepper; the pepper on the tomato plate in the other photo. The big pot has a habanada (hot no) pepper tree in it. I started this from seed and get peppers year round in my house and greenhouse. The little pot behind it has the yellow hot plant in it that I dug up from the garden before the 1st frost. Look carefully; there are 2 long green peppers. They ripen to a hot yellow pepper; the pepper on the tomato plate in the other photo. |
 |
Sign me up now
for a 25% off coupon
ithacasoap.com
Start a sprout garden
 |
 Start with clean quart jars. Any jars will do. Canning jars are a thicker, more durable glass, but utility jars, like a mayonnaise jars work fine. Alfalfa and red clover sprouts grow quickly and easily in jars. You can get these seeds from most seed suppliers, or from your food coop or health food store. Grocery stores are giant warehouses, so ask someone who works there if they have sprouting seeds. Start with clean quart jars. Any jars will do. Canning jars are a thicker, more durable glass, but utility jars, like a mayonnaise jars work fine. Alfalfa and red clover sprouts grow quickly and easily in jars. You can get these seeds from most seed suppliers, or from your food coop or health food store. Grocery stores are giant warehouses, so ask someone who works there if they have sprouting seeds. |
The easiest way to get started on your live kitchen journey is to start growing alfalfa and or clover sprouts right on your kitchen counter. You can usually get the seeds from your local coop or a seed supply.
Alfalfa and clover sprouts are grown the same way.
Take a quart jar and wash it well. Add about 1/4 cup or 2 eating tablespoons of the seeds. This measurement doesn't need to be exact. Cover the seeds with 3-4 inches with drinking water to soak for 12 hours. Cover the mouth of the jar with a tight weave napkin and a rubber band or a sprout cap.
 Measure 2 eating tablespoons worth of sprouts per jar. You can make tags with the type of sprouting seed and the date if that will help you.
 Cover with a tight weave cloth or napkin and secure with a rubber band. Or you can purchase sprouting lids that fit any standard small mouth jar opening.
Fill the jars with about 3-4 inches of water and swish the seeds around to separate them, so they start soaking.
Pour out all of water, and lay the jar on its side. Gently shake the jar so the seeds are along the long side of the jar. Place the jar out of direct sunlight while the sprouts grow.
Rinse the seeds 1-2 times a day for 3-4 days as the sprouts grow. When they are 2-3 inches long, rinse one more day and place the jar in the sun. The sprouts will turn green and are ready to eat.
Rinse the sprouts one more time before eating, and remove the seed hulls by submerging the sprouts in a bowl of clean drinking water for 1 minute. The hulls will rise to the top of the water. Scoop them out. Rinse again and eat!
 Lay the jar on its side and gently shake it so the sprouts line up along the side. Lay the jar on its side and gently shake it so the sprouts line up along the side. |
 Use the cloth napkin to cover the jar while the sprouts grow. Only lift the napkin, while still leaving it rubber banded to the jar opening, on the last day so the sprouts turn green. Use the cloth napkin to cover the jar while the sprouts grow. Only lift the napkin, while still leaving it rubber banded to the jar opening, on the last day so the sprouts turn green. |
 Rinse your sprouts once a day by filling the jar with drinking water. Gently swirling it through your sprouts and then draining out the water Rinse your sprouts once a day by filling the jar with drinking water. Gently swirling it through your sprouts and then draining out the water |
 This is day 3. See the teeny sprouts breaking through the see hulls? After you rinse and drain out the water, replace your sprout cap or cloth napkin, and gently shake the sprouts to line the jar side and put them back in their grow spot til tomorrow. This is day 3. See the teeny sprouts breaking through the see hulls? After you rinse and drain out the water, replace your sprout cap or cloth napkin, and gently shake the sprouts to line the jar side and put them back in their grow spot til tomorrow. |
 Fully grown red clover sprouts Fully grown red clover sprouts |
The photo to the left are fully grown sprouts. Place the sprouts in a bowl and cover with drinking water. Gently swish around with your fingers. The seed hulls will rise and float on top. Scoop them off and either give them to your chickens or put them in the compost. You now have fresh sprouts to eat. Bon appetite! |
Turn your house into a storehouse
This course is an introduction into the basics of having a live kitchen in your life. Learn about daily food activities, how to manage your kitchen time, storage techniques, kitchen hygiene, and become familiar with helpful kitchen tools to assist you in achieving an active live kitchen.
Right now, food security is a concern for many of us as we see agriculture affected by weather, politics, nefarious events, and cycles much bigger than our lifetimes. Having a full pantry, larder, and root cellar is a source of the warm fuzzies. Turning your house into a storehouse, is an old fashioned idea that our grandparents lived by.
 Above is a bushel box of mixed apples, in various stages of ripe, waiting to be turned into applesauce. to the right you see Winter squashes, my sourdough starter behind my towels used for canning the apple sauce Above is a bushel box of mixed apples, in various stages of ripe, waiting to be turned into applesauce. to the right you see Winter squashes, my sourdough starter behind my towels used for canning the apple sauce |
 |
A live kitchen has the freshest food, still alive in various forms of being preserved. Eating a seasonal diet is a cycle of what’s in season, consuming it fresh, while the excess abundance is preserved.
Preservation techniques range from baked, stewed, wilted, sautéed, blanched, frozen, canned, cold storage.
Fermenting sourdough starter, bread rising, various pickles fermenting, vegetables air drying and dehydrating, ripening and sprouting indoors after the growing season has ended, and rotation. The food is kept alive so it is consumed as close to being alive as it can be. This retains as much of it’s natural goodness as possible.
 The bowl has the last eggplants of the season wilting in brine. The bowl has the last eggplants of the season wilting in brine. |
 |
We have systematically been removed from the acts of growing, harvesting, and preserving food. As supply chains and refrigeration grew, so did the distance between us, our local farmers and our gardens. We’ve become used to weekly grocery store trips, packaged foods, parceled out into short term storage amounts that we replenish when we run out. Our home refrigerators grew into these energy intensive walk in closets filled with plastic packages and small amounts of many different foods that have magically arrived “fresh” from all over the world. In the NE US, grapefruits in Winter used to be a special treat if we were lucky enough to have had a visitor recently back from Florida. Someone who packed a crate of them in their car, drove back up North with them and distributed these gifts to their favorite people before they got too old to be enjoyable.
 This stack of paper towels are saved seeds, from fresh foods, fermented, cleaned and drying. To the right, are fermented, drying tomato seeds This stack of paper towels are saved seeds, from fresh foods, fermented, cleaned and drying. To the right, are fermented, drying tomato seeds |
 |
Grocery stores have very slowly changed from selling recognizable, minimally processed local foods, to selling highly processed, lab generated ready to eat “foods” in weekly portion size packages. We have been programed to think of our food supply on a weekly basis.
What if that stopped for a year?
Warehouses would take about 6 months to fully run out. Suburban and urban centers would take about 3 days to run out of stores.
Maybe you are ahead of the curve, and grew all of this food in your garden, decided to eat as much local food as possible, and supplemented your garden with food from your local farmers.
What do you do when the harvest is in and you are loaded with lots of food that needs to be dealt with so you can have something to eat in a few months? Come learn the joys of a live kitchen and take control of your health, your wealth, your menu, and your peace of mind.
Microgreens

Indoor gardening for fresh mini greens is fun and delicious. You will need potting soil, some sort of planter or seed tray, and seeds. There are micro green seed varieties, which if you let them grow to full size are mini plants. For example, the parsley micro greens above, grown to full size, are mini parsley plants. Eat them just like sprouts, on a sandwich, in a salad, or top any meal with them.
The way I grow micro greens, is to fill my planter pot of seed tray with nutritious potting soil. Dampen the soil before you add the seeds. With rubber gloved hands, I like to mix the damp soil, to evenly distribute the moisture, and fluff up the soil.
With a gloved finger, make a small trench in the dirt and sprinkle in your seeds. then cover up the seeds with 1/4 inch of the dirt and gently pat the soil down. Water gently every day and watch your micro greens grow.
Some micro greens take between 1-3 weeks to germinate. Patience. Lettuce is fast and easy. Sprinkle the seeds in the dampened soil pat down, and cover with a piece of paper for 3 days. Uncover and watch your lettuce micro greens grow. Enjoy!
Live Kitchen class modules:
- Get started: Organize your kitchen mind
- Cooking: Kitchen Hygiene
- Cooperate or not: Friends, neighbors, extended family
- Tools: Appliances big and small, utensils, your house and property
- Your food after time has passed
- Storage
- Growing
 Fermenting hot peppers, celery, and red cabbage sour kraut in the brown crock
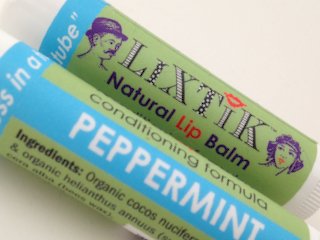 Peppermint bees wax lip balm
Moisturize, hydrate, and nourish your lips with wonderfully luxurious
Leave your lips moist and smooth for many hours. Soothes severely chapped lips.
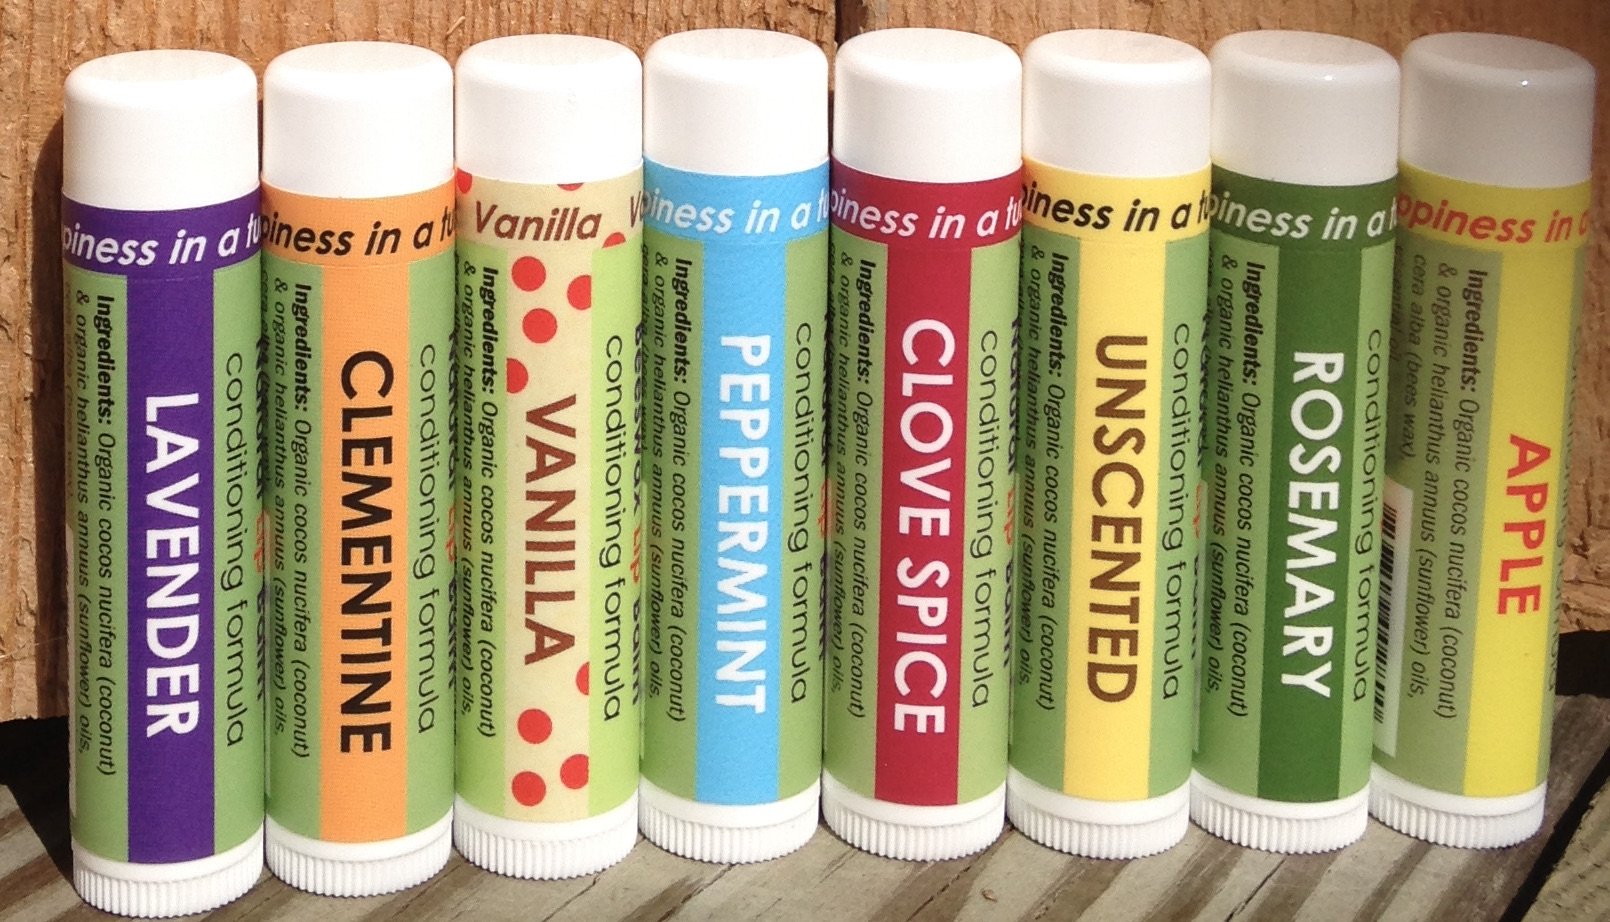 Choose from 8 LiXTiK Beeswax flavors/scents. Ingredients: Organic coconut and sunflower oils, premium beeswax, 100% pure essential oils Choose from 8 LiXTiK Beeswax flavors/scents. Ingredients: Organic coconut and sunflower oils, premium beeswax, 100% pure essential oils |
 Get a 3 pack and save Get a 3 pack and save |
You might like these
All Natural Hand Soap
Ithaca Soap's all natural soap bars, no-plastic bottle liquid soap refill, and Waterless Hand Soaps kill germs, and leave skin soft instead of dry and sore.
Liquid Hand Soap
The Liquid Hand Soap Refill dissolves into lathery Ithaca Liquid Soap, giving you 32 oz. of our liquid soap. 2x the soap and 85% degrease in shipping weight
Have A Great Story About This Topic?
Do you have a great story or question about getting started with your live kitchen or your indoor sprout garden? Share it! We'd all love to hear about it.
Share
Recent Articles
-
Soap Sayings and Small Business
Aug 06, 24 11:16 AM
When we started our soap making journey in 1999, I had no idea that only 2 short years later, the Twin Towers would be attacked and knocked down. -
Laundry Sheets
Aug 05, 24 12:18 PM
So many people are talking about laundry sheets. It's a recurring conversation with travelers in our farmers market booth. We see travelers from all over the country and the world, every week, in our… -
Laundry Sheets
Jul 24, 24 10:06 AM
So many people are talking about laundry sheets. It's a recurring conversation with travelers in our farmers market booth. We see travelers from all over the country and the world, every week, in our…