It's time to get the comfort you deserve. Good soap matters. soapisbest.com
- Home
- Kitchen Soap
- Sourdough Bread
Sourdough Bread
 Sourdough bread...yummy
The perfect sourdough bread is difficult to perfect, but when you arrive your world will change.
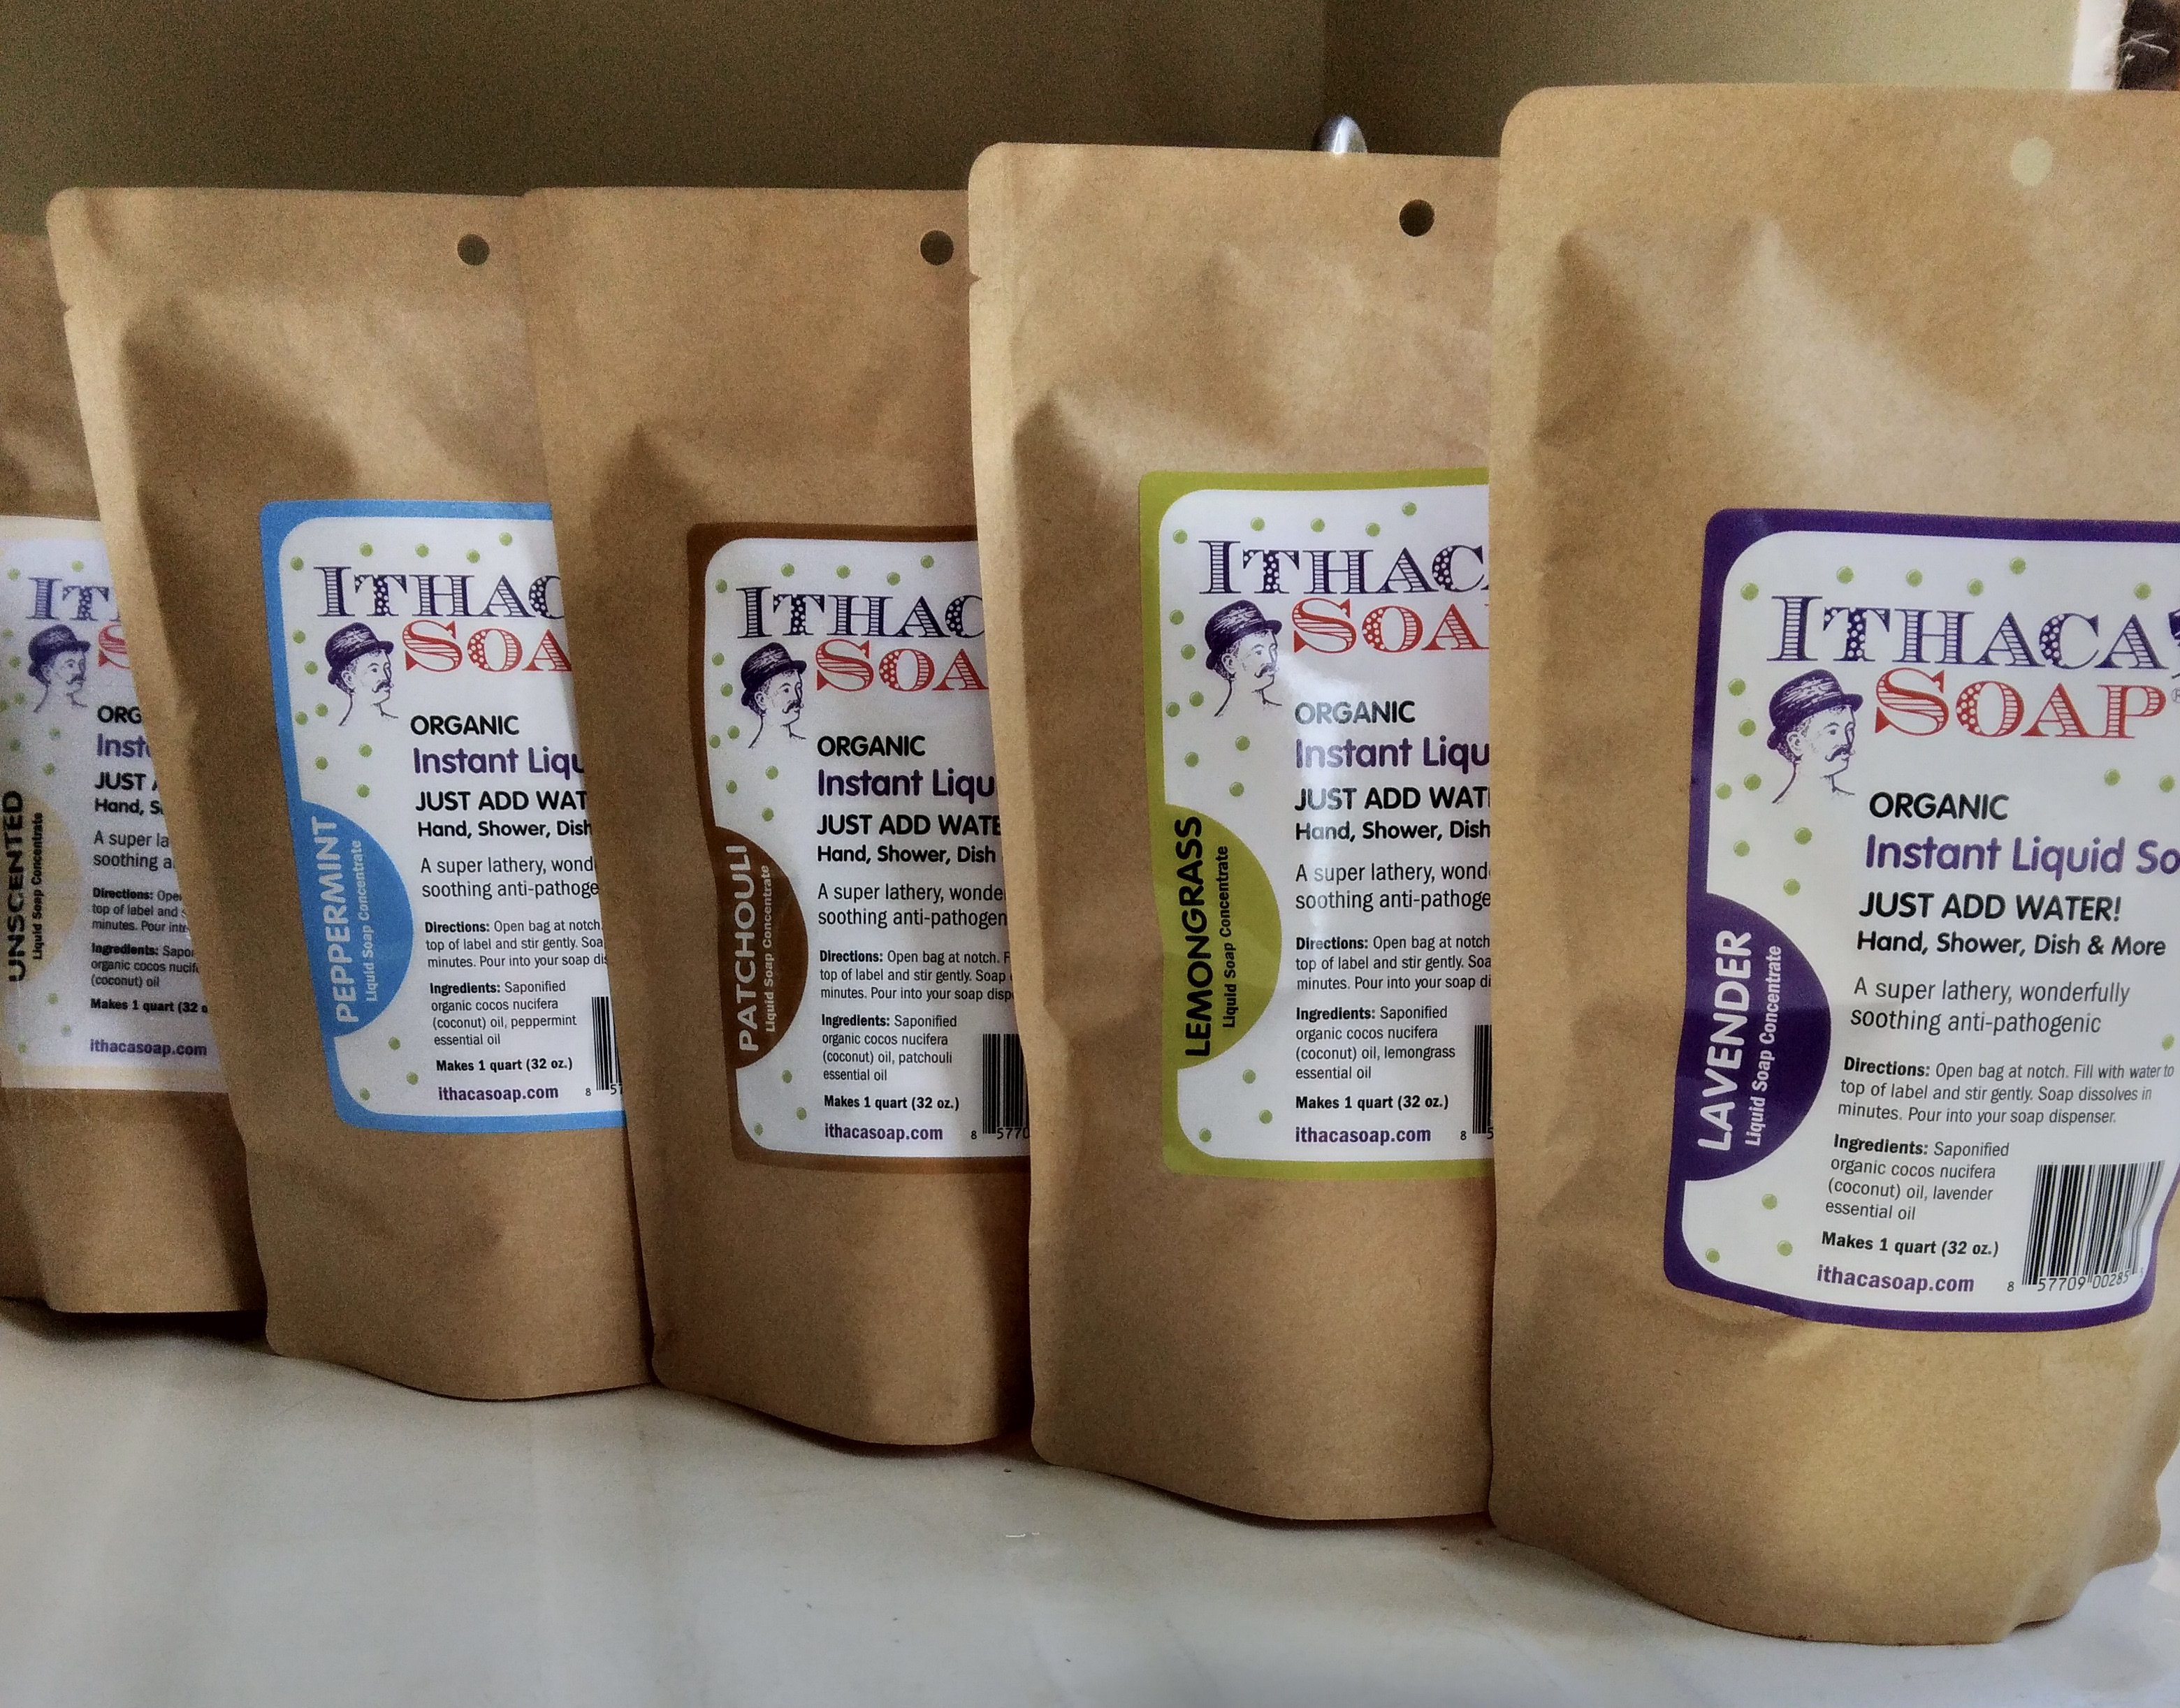 Choose from 5 different natural essential oil scents
Instant Liquid Soap is the perfect stovetop cleaner. It's gentle on your hands while being tough on built up, caked on grease. Click here to read How to Clean your Greasy Stovetop using zero waste natural soap methods
- Tear open pouch at notch
- Fill pouch with water to top of label. Gently stir.
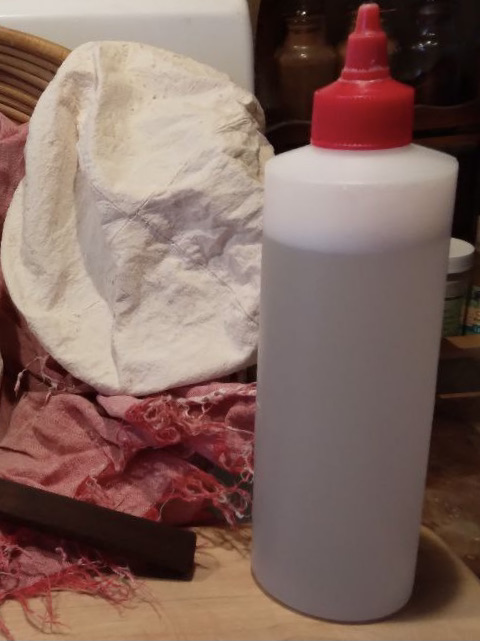
- Pour into a reused plastic bottle. Use.
The future starts now as you end single use plastic bottles. Click here
Sourdough bread is a journey. By creating a live culture, it needs regular attention to keep it alive. Once you get into the rhythm of baking sourdough bread, the phrase "this sourdough starter is 15 years old..." will make sense.
I am new to sourdough bread (18 months in), so I am not an expert. Yet. I've tried my hand at bread baking over a lifetime, with some successes and mostly failures, until recently. The sourdough method filled in the gaps of my understanding of yeast, crust, and gluten. Now my bread successes outnumber my failures.
Regardless of my experience, baking and eating this bread is the joy of having fresh baked bread all of the time.
Sign me up now
for a 25% off coupon
ithacasoap.com
Sourdough bread starter
Begin your sourdough bread journey with sourdough bread starter. You can buy it and follow the directions on the package or be adventurous and start your own. You will need a 1 pint container with a lid, 2 tablespoons of flour, and 2 tablespoons of water.
For the container, a yogurt container works. I prefer a 1 pint glass canning jar. This way I can see what's happening, and the sourdough bread starter taste is free from plastic esters and problems occurring from teeny tiny pits that will form in the plastic over time and collect unwanted bacteria.
 These 2 photos were taken at the same time using the natural sunlight differently to illustrate the yeast bubbles These 2 photos were taken at the same time using the natural sunlight differently to illustrate the yeast bubbles |
 Each air pocket is a yeast bubble derived by fermenting flour and water in a jar. It eats a bit of bread flour, water, and natural wild yeast from the air, every day Each air pocket is a yeast bubble derived by fermenting flour and water in a jar. It eats a bit of bread flour, water, and natural wild yeast from the air, every day |
Wash and dry your chosen jar, with unscented Liquid Soap Refill. It is very important that your sourdough bread tastes like bread alone, free from any detergent odor or taste.
Add 2 tablespoons of bread flour and 2 tablespoons of drinking water or follow the directions on your sourdough starter package. Vigorously stir with a chopstick. Place the lid on top of the jar, so it simply sits there. The air space between the lid and jar is a necessary component. I leave my lid askew, so it's slightly tipped. The air that goes inside the jar in that tiny space, is filled with wild yeast and good bacteria that will activate the sugars in the flour to ferment and create your starter.
I use organic white wheat bread flour, which has a slightly higher gluten content than all purpose flour. Most sourdough recipes I have come across are made with All Purpose Flour. This recipe and technique is for 100% bread flour.
Feed your starter once or twice every day, by adding 2 tablespoons of flour and a small amount of drinking water. Stir vigorously and place the lid askew on top.
Note: I am not a fan of gluten free bread flours. They contain refined starches and high sugar starch flours to mimic gluten. Many are too sweet for people who need to watch their sugar intake.
Get ready for bread baking
I start making bread whenever I get to it. Consider your schedule and when you can fit in the quick tasks to make bread.
 The starter is ready. See all of the air bubbles? That is the yeast to make the bread rise. The starter is ready. See all of the air bubbles? That is the yeast to make the bread rise. |
Take about 1/4 cup of your starter out of the jar and place it in a bowl. Add 1/3 cup room temp. drinking water and 1/3 cup bread flour. With a rubber spatula, stir vigorously to blend into a thick batter. scrape all of the batter off of the sides of the bowl. Place the entire bowl in a large plastic bag and twist it to capture some air in the bag. Set the bowl onto the twisted bag end in a 65-70 degreeF location for at least 8 hours. 12 is ok. |
Making sourdough bread
 This is the sourdough starter with the salt sitting on top This is the sourdough starter with the salt sitting on top |
 This is the sourdough starter with the rest of the ingredients before they are mixed in This is the sourdough starter with the rest of the ingredients before they are mixed in |
Scrape your starter out of the smaller bowl into a tall bowl.
Add 2 teaspoons salt. I prefer course Irish sea salt.
Add 1/2 cup of drinking water. Stir vigorously to break the started sourdough starter up. The salt will feed it.
Add 3 cups bread flour, and 1/2 more cup of drinking water. Stir with your rubber spatula until all of the liquid is absorbed. Add about 1/4 cup more water. The dough will be flaky, and a bit stiff, while also being sticky.
Turn the dough out to an oiled surface. I use about 1 tablespoon of olive oil on a wooden cutting board. Spread the oil around the surface and rub some on your hands.
 Olive oil on the cutting board, which is my working surface. Olive oil on the cutting board, which is my working surface. |
 The sourdough resting before it's 1st knead. The sourdough resting before it's 1st knead. |
Let the dough rest, while you wash and dry the bowl.
With oiled hands, knead the dough until it is cohesive and has some spring. It's fine of it is a bit lumpy.
 The sourdough has been kneaded enough to activate the gluten The sourdough has been kneaded enough to activate the gluten |
 This is a stretch test to see how much the gluten has been activated. See the thin spot? It is good enough to set it for its 1st rise. This is a stretch test to see how much the gluten has been activated. See the thin spot? It is good enough to set it for its 1st rise. |
All of these photos are of the same batch of sourdough bread. The natural light kept changing.
Rub some olive oil around the inside of the dry bowl and place the dough in it. Roll the dough around, so it is coated with oil. Place back in the plastic bag for between 1 1/2 and 3 hours. The dough will increase in size by 50% to 100%.
Second rise and knead
 This is the dough in the bowl after the 1st rise. If you look closely, you can see tiny little air bubbles This is the dough in the bowl after the 1st rise. If you look closely, you can see tiny little air bubbles |
 This is the sourdough folded after the 1st rise, ready to be placed back in the bowl for the 2nd rise. Look at how smooth it has become. This is the sourdough folded after the 1st rise, ready to be placed back in the bowl for the 2nd rise. Look at how smooth it has become. |
In the photo above you will notice that the dough is smoother and about 75% bigger with air pockets. The gluten has been activated and the yeast is alive.
Oil your hands, and take the dough out of the bowl. Gently pat it into an 8 x 10 rectangle. With the long side horizontal, fold it into thirds from left to right and gently pat it into a nice rectangle. Then fold the bottom up to the top. Stretch the underside of the top over and down to the bottom, forming a square.
Do a gluten check stretch. Tuck the stretch back underneath. Place the dough back in the bowl. It should be oiled enough so the dough will not stick. If not, add more oil to the bowl before placing the dough back in. Cover with the plastic bag, twist the bag to create an air bubble and let sit again for 1 1/2 hours to 3 hours.
 |
 |
Form sourdough bread loaf
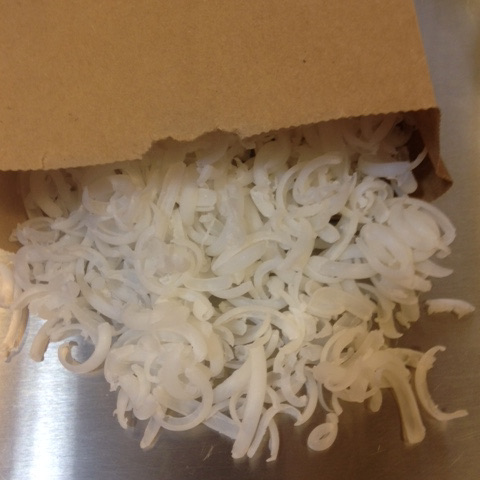
 The banneton liner with flour rubbed into it. The banneton liner with flour rubbed into it. |
 Fill all crevices between the dough and the banneton liner with flour Fill all crevices between the dough and the banneton liner with flour |
Turn the sourdough bread dough back onto your work surface. Gently pat into a circle and fold the edges underneath to form a ball.
While the dough rests, get your banneton and banneton liner set up and rub the flour in. If you don't have a banneton and liner, use a bowl and piece of linen big enough to line the bowl.
Place the loaf in the liner and liberally sprinkle with flour and rub it into the barberton liner. Make sure to fill all crevices on the perimeter with flour. This prevents the dough from sticking to the liner. Place the dough in the banneton, back in the plastic bag and let rise for 3-5 hours. If you are planning to bake in the morning, you can put the banneton, in the bag, in the fridge overnight.
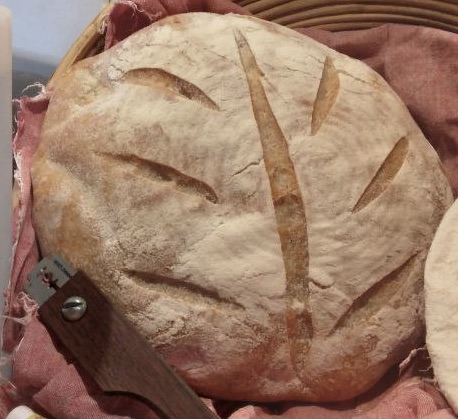
 The sourdough fresh out of the banneton The sourdough fresh out of the banneton |
 The loaf with the flour brushed off. The loaf with the flour brushed off. |
Baking sourdough bread
Preheat your oven to 400 degrees F. with a cast iron dutch oven or deep covered cast iron pan on the bottom shelf. It will heat up with the oven.
When the oven is at temp, place a piece of parchment paper on your work surface. Take the banneton and flip it upside down onto the parchment paper. Take the banneton or bowl off, and peel the liner off of the sourdough dough. Quickly brush excess flour off with a pastry brush and save this to feed your starter for its next feeding.
Take your lame or sharp knife, and make deep slices. The slices should be between 1-2 inches deep. The sourdough dough will swell. Work quickly and spray or sprinkle the bread with water.
I open a window and turn on the hood fan, before I open the oven, remove the cast iron pan and open the lid. Carefully place your sourdough bread dough inside the Dutch oven, cover and place in the oven.
Bake for 30- 40 minutes. Open the lid carefully. If the bread it just beginning to brown, it has bloomed as much as it will. Uncover the pan and continue baking for 10-25 more minutes, so the loaf can brown.
Remove from the oven, lift the parchment out of the Dutch oven and place on a cooling rack. Let cool at least for 1 hour. 3 hours is best before cutting into your sourdough bread.
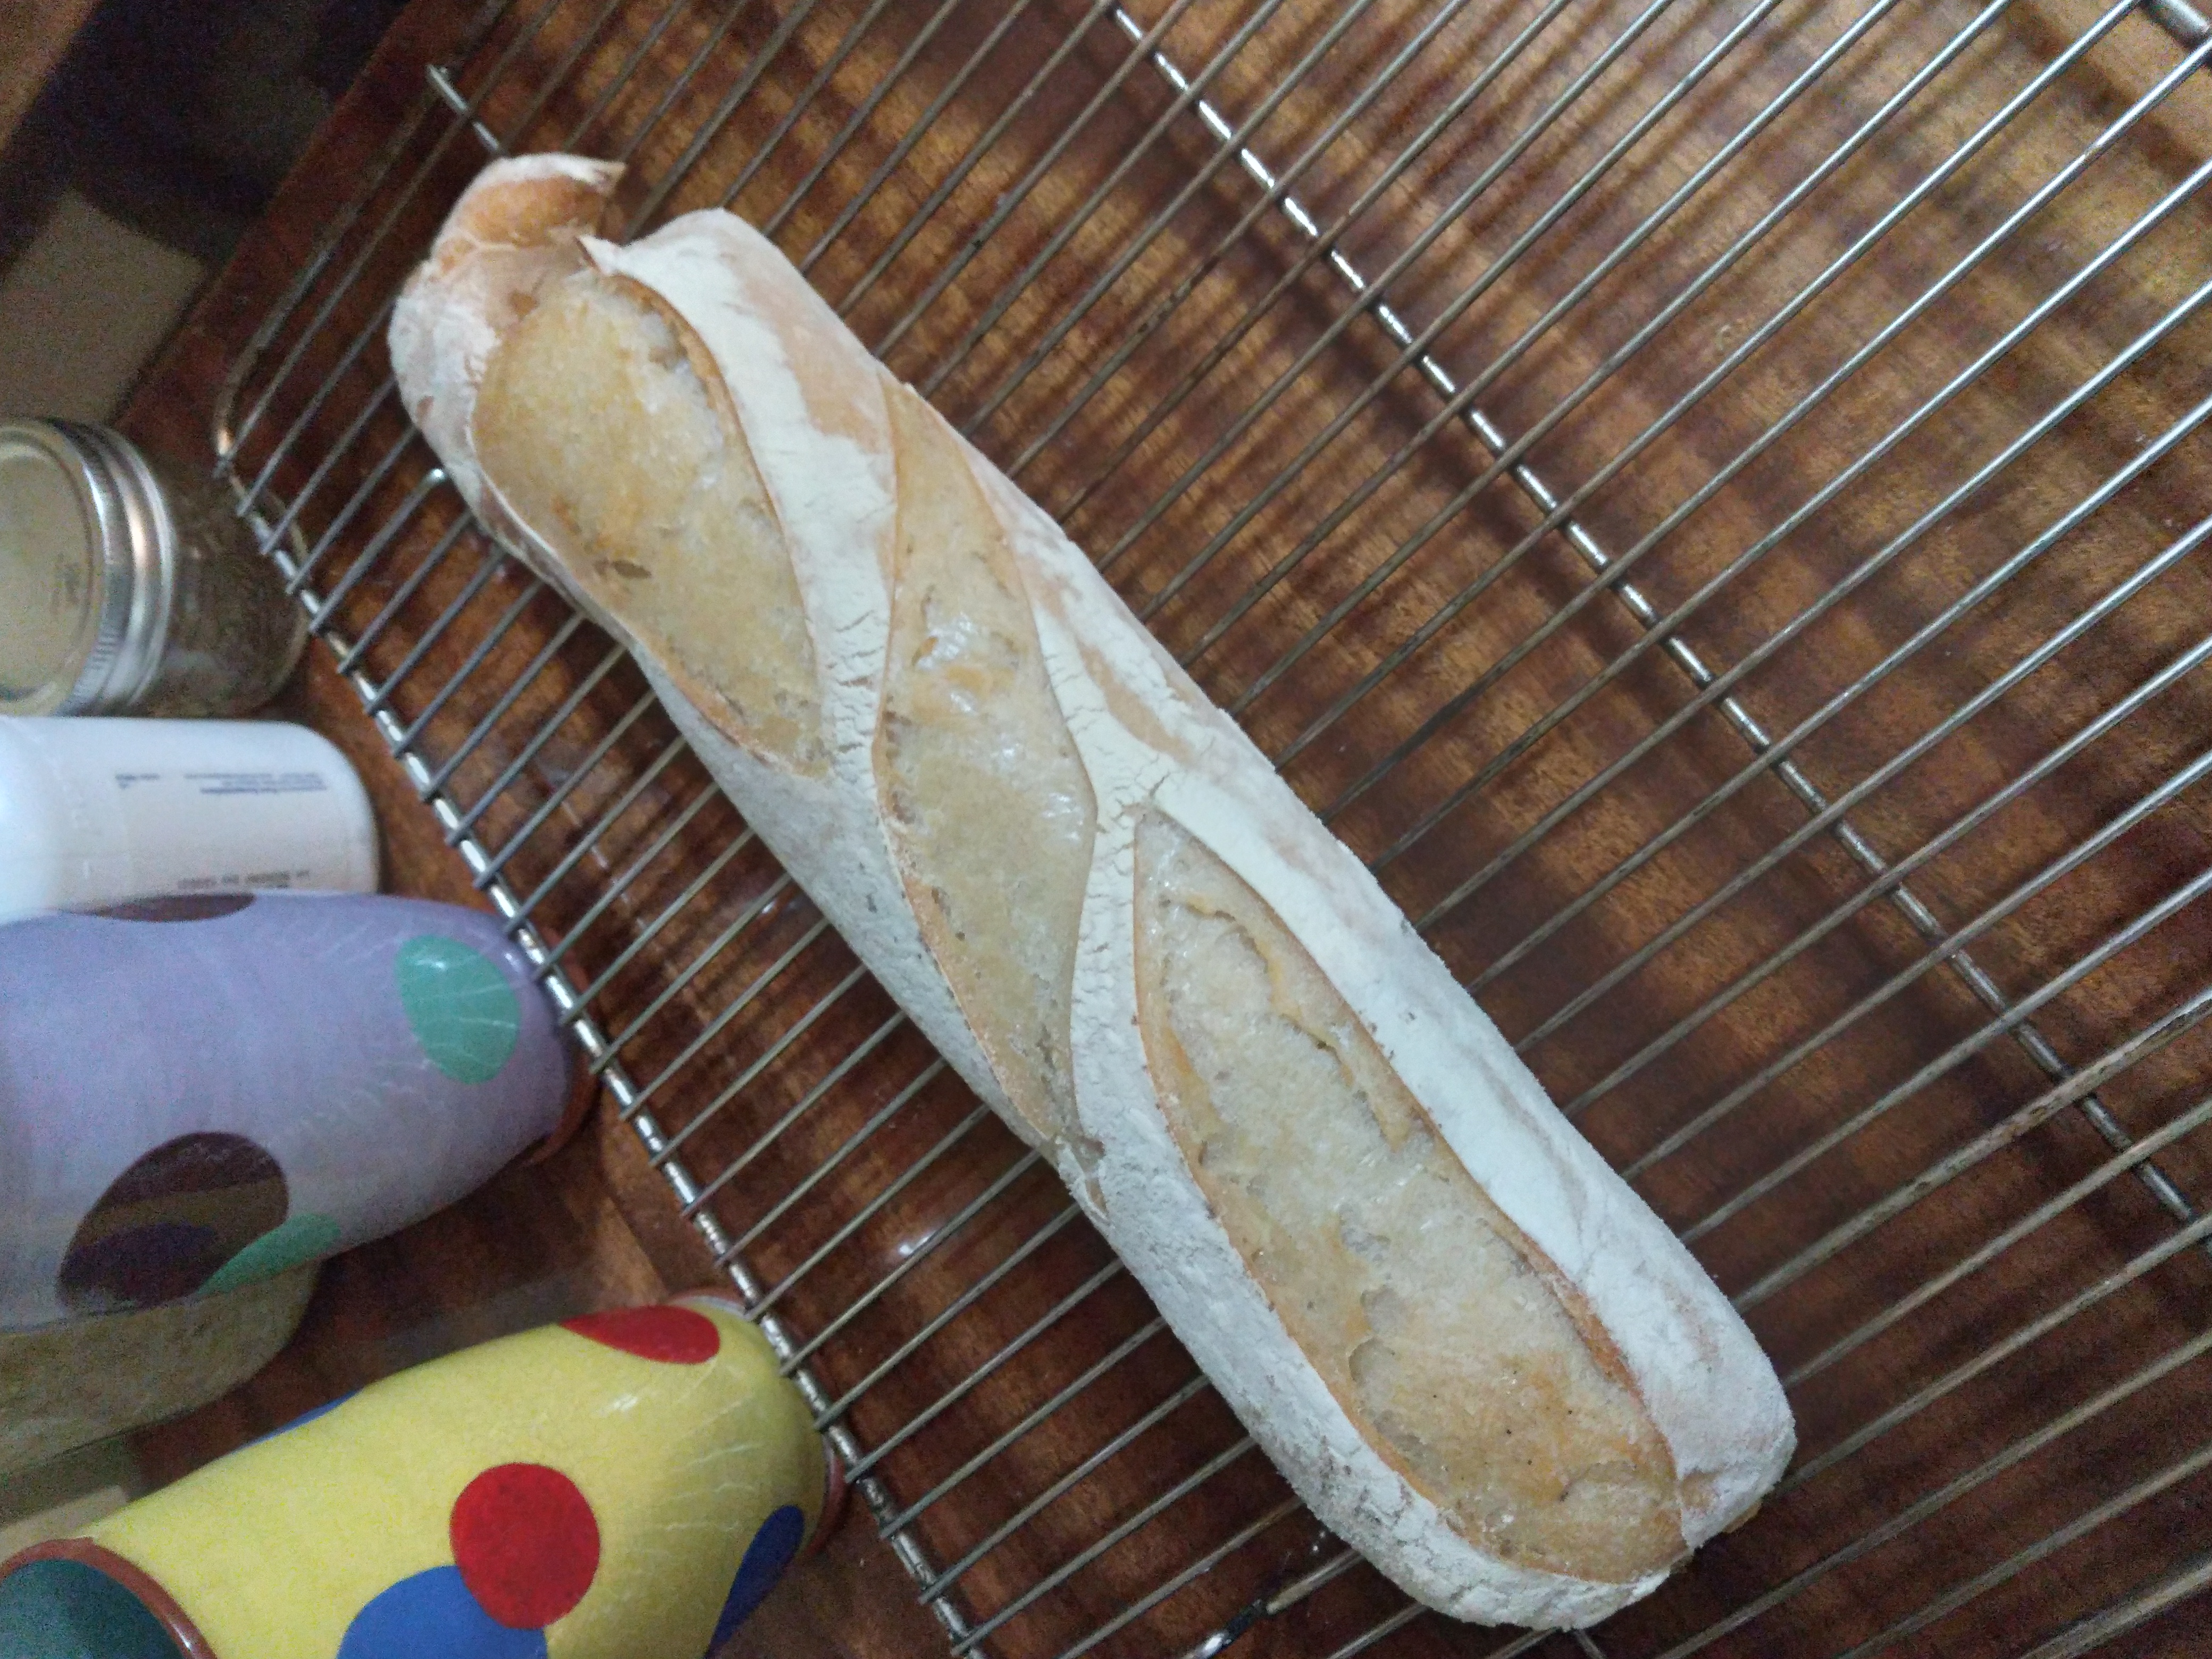
 |
 |
Bon appetite!
 |
 |
How to wash your banneton liner
While your starter is growing, collect your bread baking tools. I bought one baguette banneton, which is a rising basket. I also bought a few linen banneton liners. If you're a sewer, you can make these out of medium weight, tight weave linen.
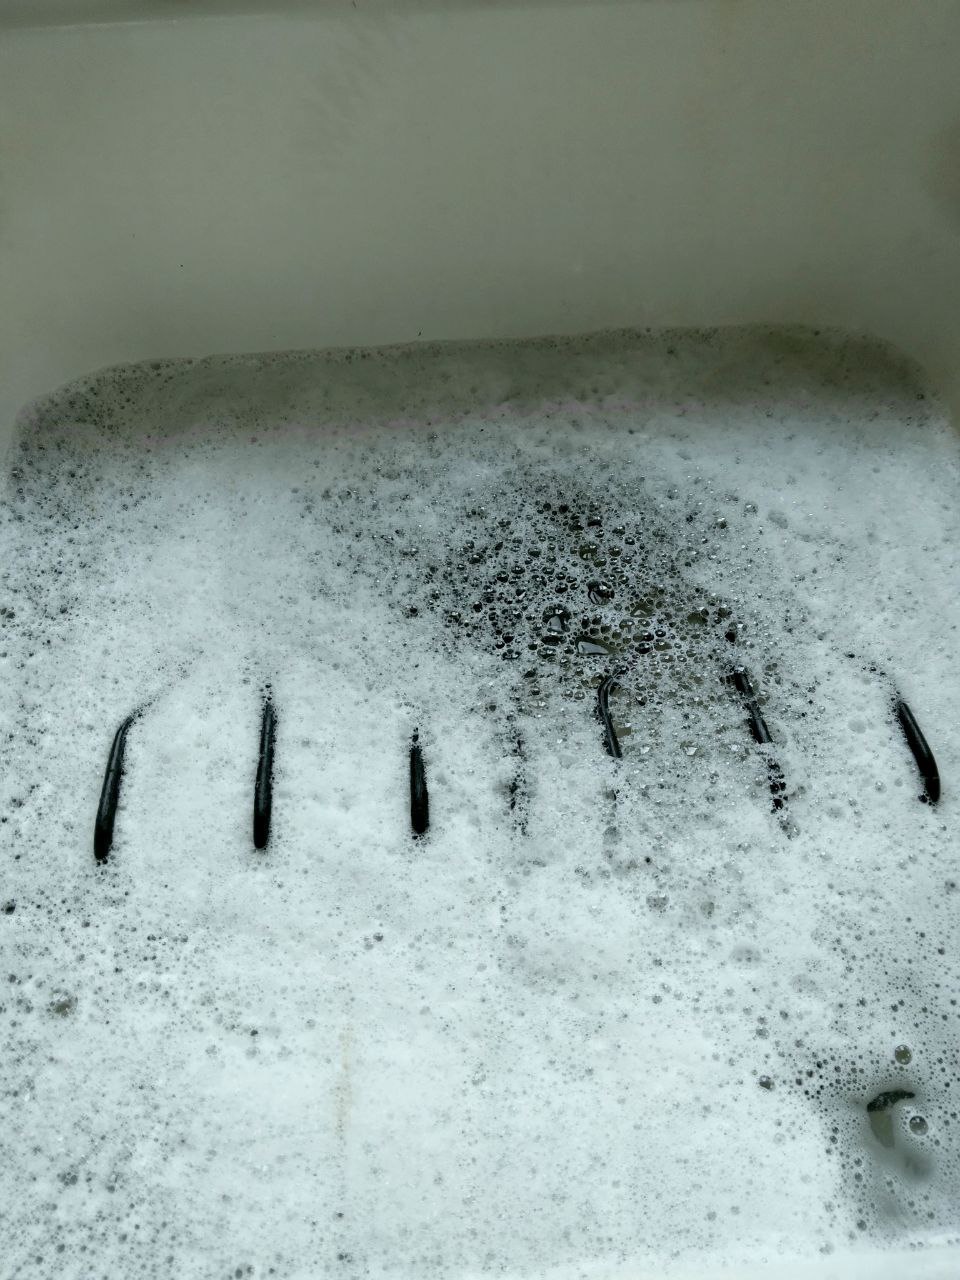
To clean them, shake out as much flour as you can, saving as much flour as you can, for starter food. I wash these by hand, using the Liquid Soap Refill, right in the kitchen sink, while I'm cleaning up and doing dishes.
Take your rising bowl (any bowl will do), and put 1 squirt of Liquid Soap Refill in it while it's filling 1/2 way with warm water. Put in your banneton liners and swish them around, while squeezing them in the water to thoroughly wet them and fill them up with the soapy water. Rub the floured sides together vigorously, squeeze and swish a few more times.
Let the liners soak for anywhere from 30 minutes to hours, depending on what else you're doing.
To rinse, drain out the water and squeeze out the banneton liners. Fill the bowl up with clean water, swish and squeeze a few times, and drain. Repeat this 2-3 times.
Squeeze out as much excess water as possible and hang the banneton liners to dry right on your dish tack or over your sink faucet. When they are completely dry, put them away until your next bread baking day.
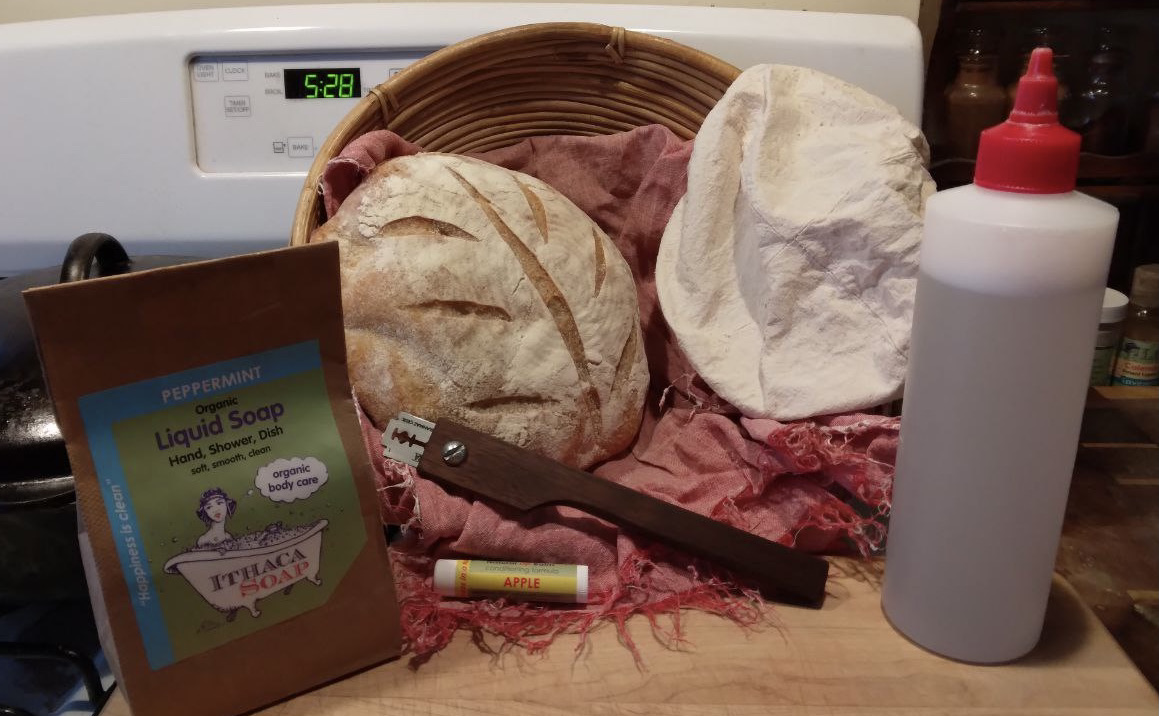
Bread baking tools and care
 Banneton basket liner
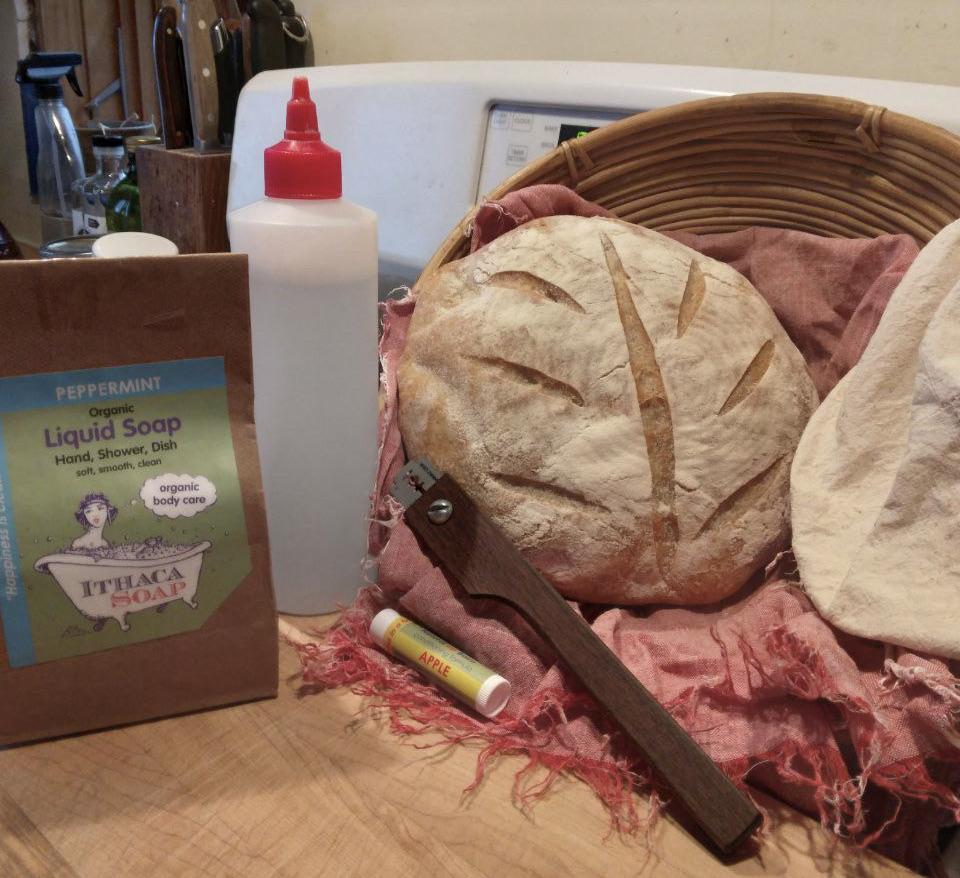 Sourdough bread baking tools
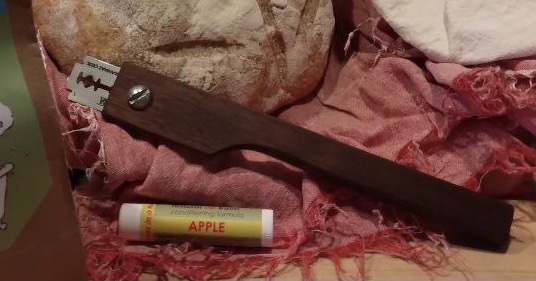
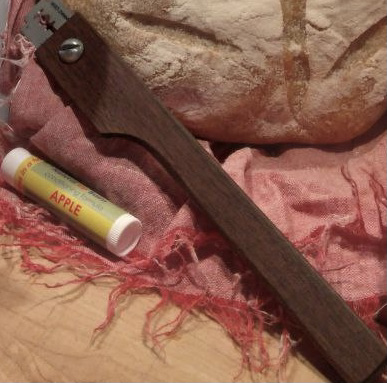 Bread lame and LiXTiK Lip balm
Many people use a dutch oven for baking sourdough bread. There is such a thing as a bread cloche, that looks like it would make this step very easy. There are also special dutch oven style pans for baguettes and different shaped loaves.
I have a few methods that I use, with a variety of cast iron pots and pans that I already own. I flip them upside down over the bread that is on a sheet pan on top of a piece of parchment paper. I recommend reading the chapter on breads in Julia Child's Mastering the Art of French Cooking. Even though she doesn't write about sourdough, there is a lot of information about flours, pans, techniques, etc. I also got a lot of info from watching Mike's youtube videos from Pro Home Cooks. I blend what I've read, watched and learned by baking my own bread, to come up with my method.
How to make a bread Lame
What is a bread lame, you ask? It's a razor blade knife for making your cuts in the top of the bread right before you put it in the oven. I've tried spare razors that I had from my art studio. I also tried kitchen knives I thought were sharp enough.
This tool is very important and gets little discussion. They are also a moderately priced tool to purchase. If you are a woodworker or know of one, I would recommend making one that fits your hand perfectly. Andy made mine and it's fabulous.
When using any old knife or razor, your cuts are never deep enough, sharp enough, or continuous enough and the bread doesn't even have a chance to bloom properly.
Andy bought double edge straight razor blades at a hair supply store. They are very thin and extra sharp. He then made a handle that he finished with LiXTiK Lip Balm, which gives it a lovely smooth finish that will not leave a taste on your bread from some mineral or linseed oil. He simply rubbed the lip balm on the handle and buffed it in. My lame makes expert cuts, with little effort.

Sourdough recipe thoughts
Many sourdough bread recipes are in weights instead of volumes. I have tried both and have come up with a recipe in volumes.
The percentages of water to starter to flour are different depending on whether you are using all purpose flour or bread flour, or white flour or wheat flour. They are different still for a gluten free or partially gluten free bread.
All purpose flour is a 50/50 mix of hard red wheat and soft white wheat. This mimics European hard red wheat, which has a lower gluten percentage than American hard red wheat. Soft white wheat has a lower gluten percentage and a higher natural sugar percentage.
My recipe and technique that I am developing is for a 100% hard red wheat flour. I think some "bread" flours are mixed red and white wheats, but the white wheat is lower than 50%. The reason I think this is, when I have made bread using "wheat bread flour", that doesn't specify which wheat is in the ingredients, the bread has a slight cake like quality compared to 100% red wheat flour which is much springier.
 Farmers and Artisans in Snyder, NY Bakery and grocery. Good Food Matters
 Peppermint bees wax lip balm
Moisturize, hydrate, and nourish your lips with wonderfully luxurious
Leave your lips moist and smooth for many hours. Soothes severely chapped lips.
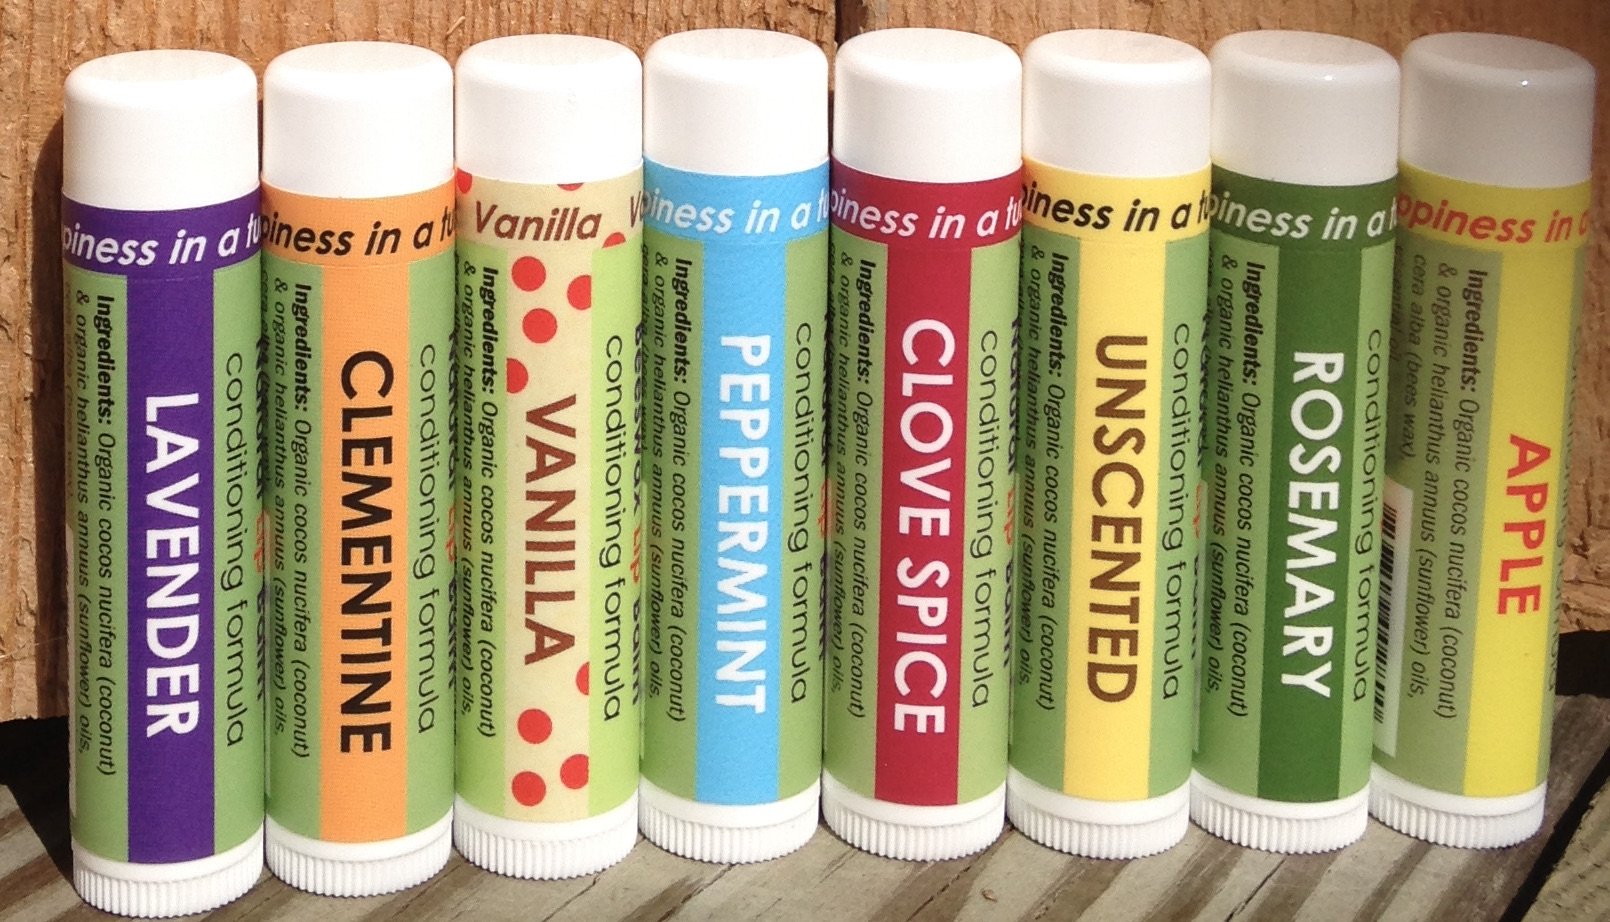 Choose from 8 LiXTiK Beeswax flavors/scents. Ingredients: Organic coconut and sunflower oils, premium beeswax, 100% pure essential oils Choose from 8 LiXTiK Beeswax flavors/scents. Ingredients: Organic coconut and sunflower oils, premium beeswax, 100% pure essential oils |
 Get a 3 pack and save Get a 3 pack and save |
Have A Great Story About This Topic?
I'm perfecting my bread baking skills and recipes. I try different techniques, flour blends, recipe alterations, and rise times, just to name a few.
Do you have a success, failure, or learning curve you'd like to share? Let's hear it!
You might like these
All Natural Hand Soap
Ithaca Soap's all natural soap bars, no-plastic bottle liquid soap refill, and Waterless Hand Soaps kill germs, and leave skin soft instead of dry and sore.
Liquid Hand Soap
The Liquid Hand Soap Refill dissolves into lathery Ithaca Liquid Soap, giving you 32 oz. of our liquid soap. 2x the soap and 85% degrease in shipping weight
Share
Recent Articles
-
Soap Sayings and Small Business
Aug 06, 24 11:16 AM
When we started our soap making journey in 1999, I had no idea that only 2 short years later, the Twin Towers would be attacked and knocked down. -
Laundry Sheets
Aug 05, 24 12:18 PM
So many people are talking about laundry sheets. It's a recurring conversation with travelers in our farmers market booth. We see travelers from all over the country and the world, every week, in our… -
Laundry Sheets
Jul 24, 24 10:06 AM
So many people are talking about laundry sheets. It's a recurring conversation with travelers in our farmers market booth. We see travelers from all over the country and the world, every week, in our…